
This post will show how to make a weathered stone background similar to the one on this blog. Here’s how it was done:
- Open Photoshop & create a new file 1000 px wide by 1000 px high.
- Create a new layer above the background layer.
- Delete the white background layer.
- Use the Paint Can tool to paint the new layer. (It can be any color – in the next few steps, this color will be completely replaced with a stone pattern.)
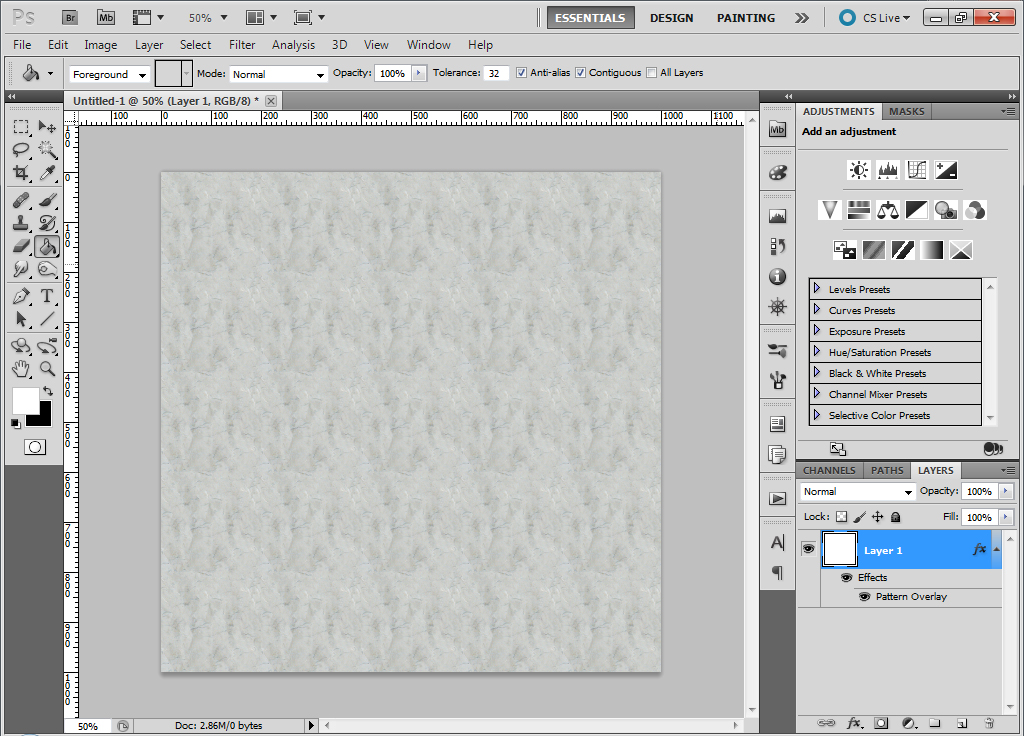
- Click on the layer’s thumbnail. This will open the Layer Style popup window.
- Choose the Pattern Overlay style.
- Click on the Pattern Picker, and choose the Light Marble pattern. Click OK.
- Create a new layer. Right-click on this empty layer and choose the Merge Visible option. (This collapses the layer styles into a single layer.)
- Click on the layer’s thumbnail. This opens the Layer Style popup window again.
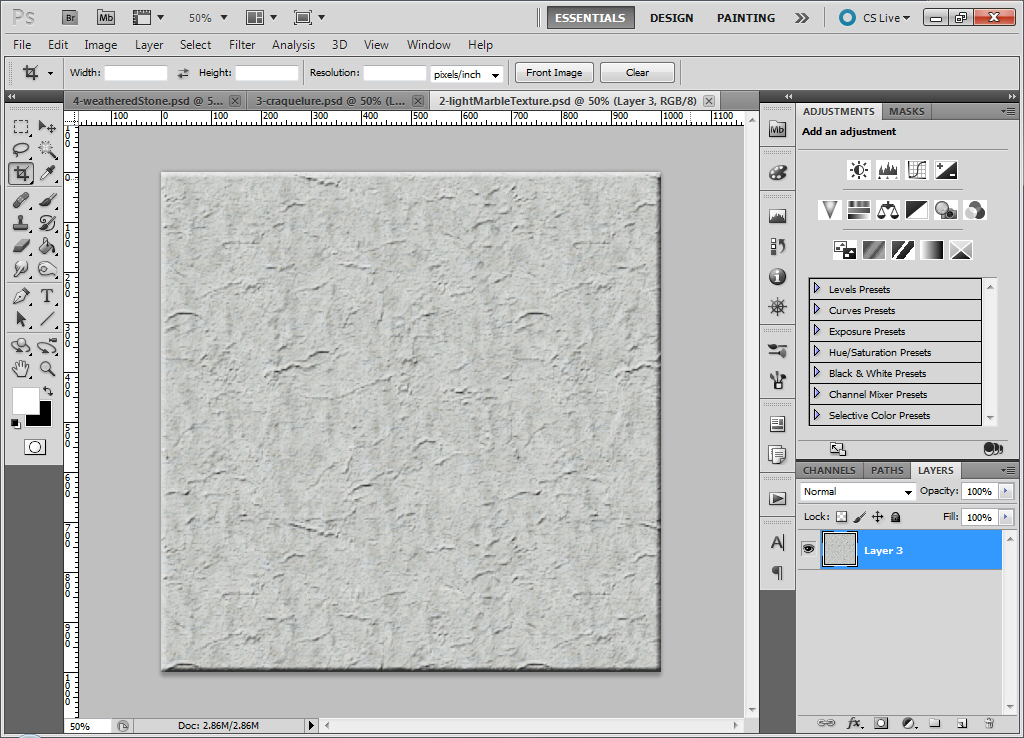
- Now choose the Texture style. (This is a sub-style of the Bevel and Emboss style).
- Once more, click on the Pattern Picker, and choose the Light Marble pattern. Do not click OK yet!
- Click to the side of the Pattern Picker to collapse the choices. Use the following settings:
Scale: 351
Depth: 145 - You may wish at this time to toggle the Invert button to see which version you prefer.
- After making your choice, click OK.
- Create a new layer again.
- Right-click on the new layer, and choose Merge Visible.
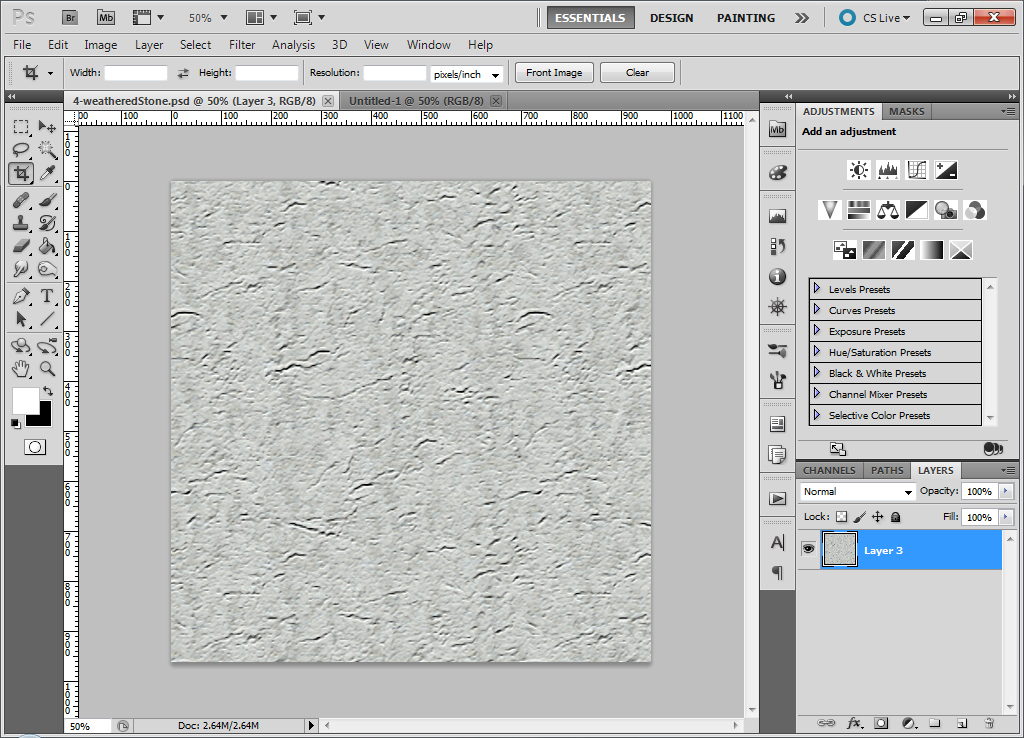
- Click Filter > Filter Gallery > Texture > Craquelure.
- Use the following settings:
Crack Spacing: 80
Crack Depth: 1
Brightness: 10 - Click OK.
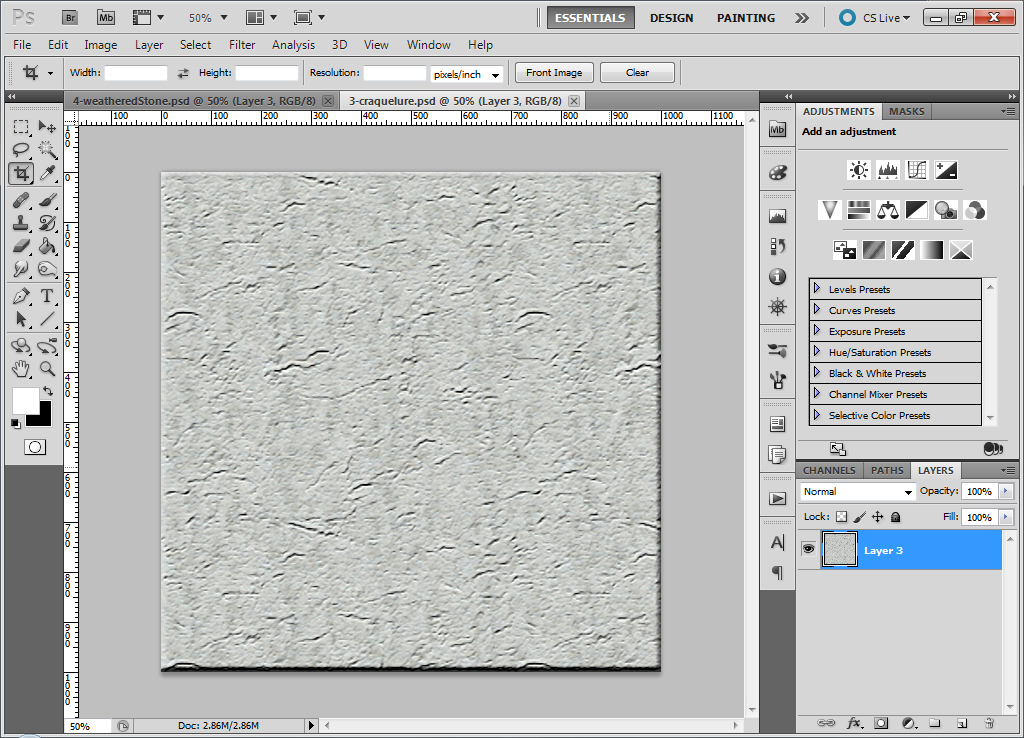
- Crop the top, bottom, and sides slightly to remove the bevelled effect around the edges.
- Save the file as weatheredStoneBkg.psd. The actual background image can be saved as a GIF.
