How To Stop Self-Pingbacks

Unlike some blogging platforms, WordPress sends self-pingbacks when a blogger makes internal links.

Aside from the possible effect this might have on SEO, its annoying to be notified by the Akismet plugin every time one links to their previous posts.

Apparently there are plugins to deal with this, but a simple solution is to use a relative URL when self-linking.

So, for example, if I was making an internal link to this post I would not use this absolute URL:

https://www.chou-seh-fu.com/wordpress/how-to-stop-self-pingbacks/

I would use this relative URL instead:

/wordpress/how-to-stop-self-pingbacks/
Posted in WordPress | Comments Off on How To Stop Self-Pingbacks

How To Make A Weathered Stone Background With Photoshop

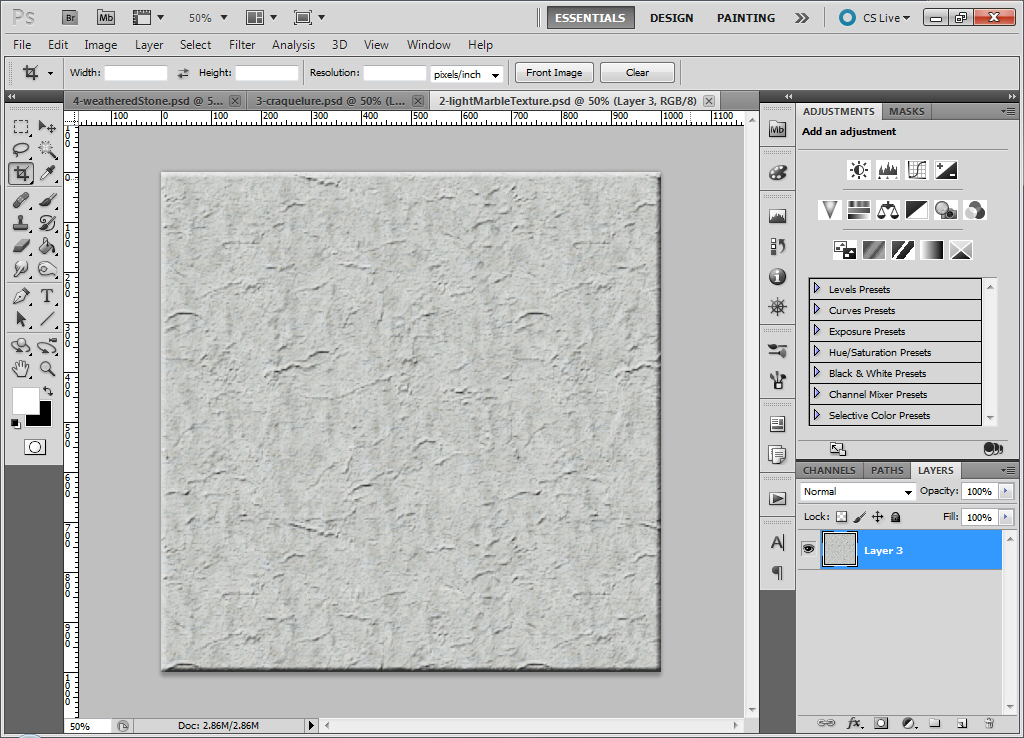
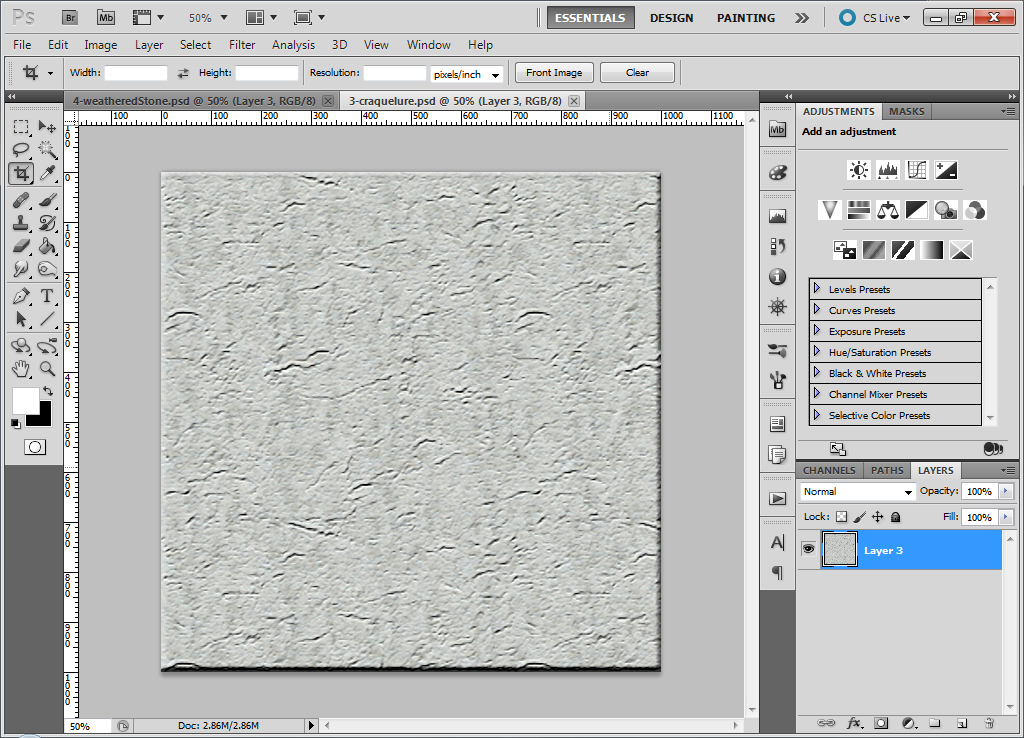
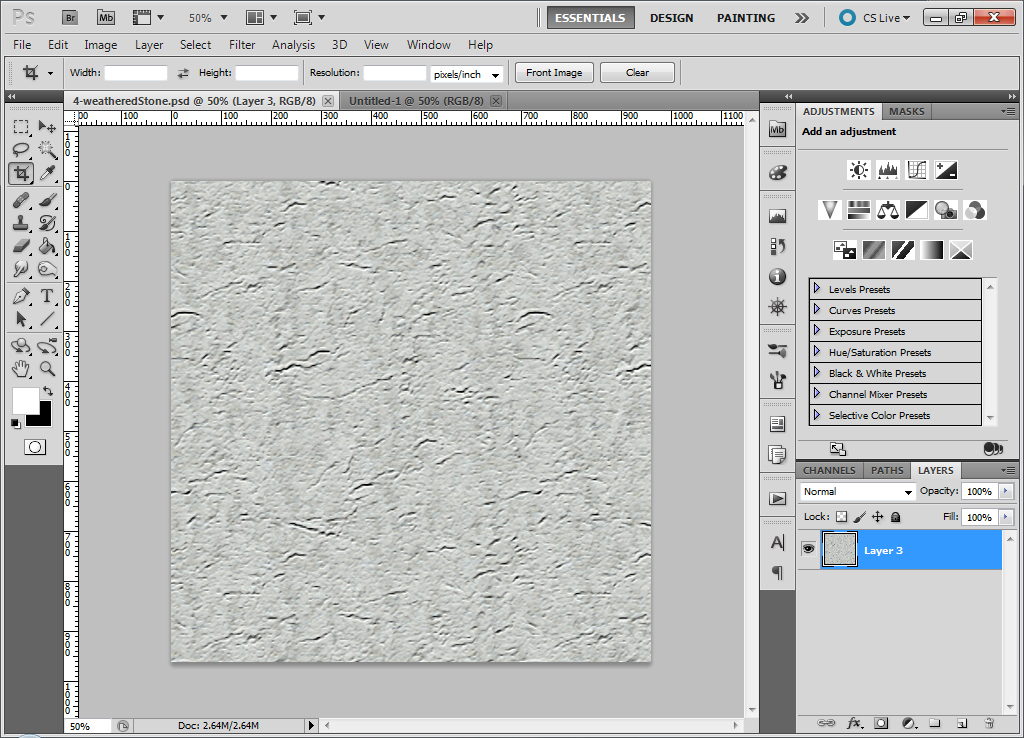
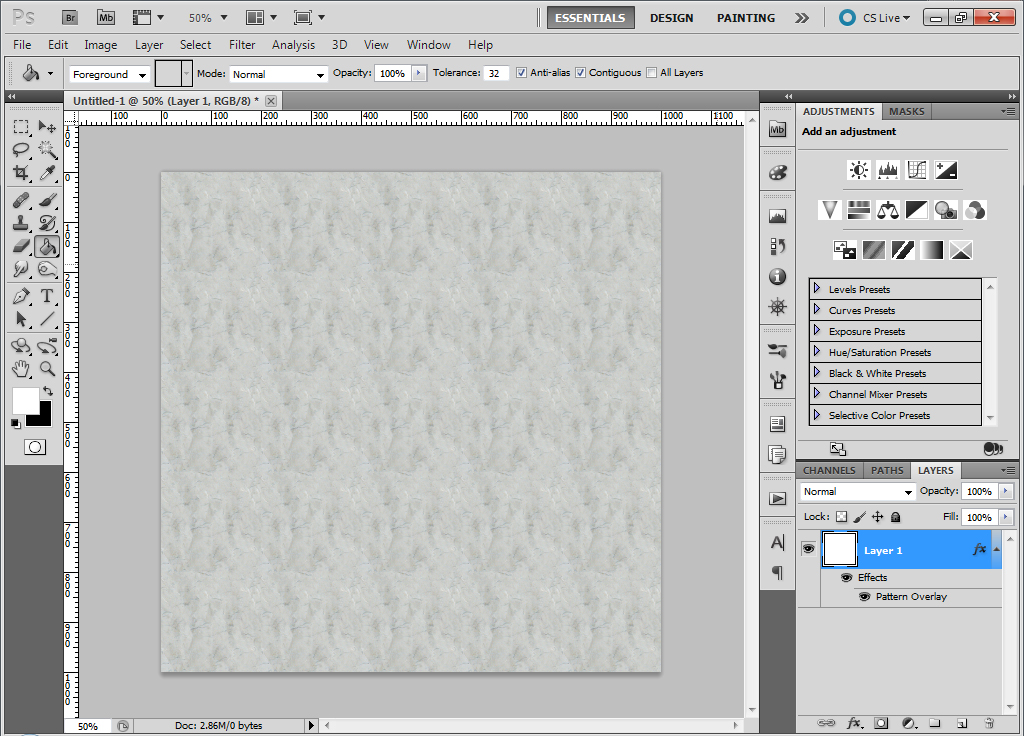
This post will show how to make a weathered stone background similar to the one on this blog. Here’s how it was done:

  1. Open Photoshop & create a new file 1000 px wide by 1000 px high.
  2. Create a new layer above the background layer.
  3. Delete the white background layer.
  4. Use the Paint Can tool to paint the new layer. (It can be any color – in the next few steps, this color will be completely replaced with a stone pattern.)
  5. Click on the layer’s thumbnail. This will open the Layer Style popup window.
  6. Choose the Pattern Overlay style.
  7. Click on the Pattern Picker, and choose the Light Marble pattern. Click OK.
  8. Create a new layer. Right-click on this empty layer and choose the Merge Visible option. (This collapses the layer styles into a single layer.)
  9. Click on the layer’s thumbnail. This opens the Layer Style popup window again.
  10. Now choose the Texture style. (This is a sub-style of the Bevel and Emboss style).
  11. Once more, click on the Pattern Picker, and choose the Light Marble pattern. Do not click OK yet!
  12. Click to the side of the Pattern Picker to collapse the choices. Use the following settings:
    Scale: 351
    Depth: 145
  13. You may wish at this time to toggle the Invert button to see which version you prefer.
  14. After making your choice, click OK.
  15. Create a new layer again.
  16. Right-click on the new layer, and choose Merge Visible.
  17. Click Filter > Filter Gallery > Texture > Craquelure.
  18. Use the following settings:
    Crack Spacing: 80
    Crack Depth: 1
    Brightness: 10
  19. Click OK.
  20. Crop the top, bottom, and sides slightly to remove the bevelled effect around the edges.
  21. Save the file as weatheredStoneBkg.psd. The actual background image can be saved as a GIF.
Posted in Photoshop tutorials | Comments Off on How To Make A Weathered Stone Background With Photoshop

CSS Text-Transform

I’ve finally encountered a situation where the CSS text-transform property is of some value.

The footer on this blog contains a link back to the main blog page, and the text in that link is displayed in the Caesar Dressing font from Google Fonts via the WP Google Fonts WordPress plugin.

As you can see, the Caesar Dressing font renders all letters in the blog title in capitals, except for the letter “i”. That’s 18 upper-case letters, and 1 lower-case letter alone and orphaned in the word “public”. (Or rather, “PUBLiC”)

screenshot of text with Caesar Dressing font (with ugly lowercase 'i')

One solution might be to change the blog title in the dashboard to all-caps, but this might look strange on the search engine results.

My preferred solution is to change the blog title via the text-transform property in CSS. After setting the value to uppercase, this is the result:

screenshot of text with Caesar Dressing font (with uppercase 'i' after CSS text-transform)

Much better.

Posted in HTML & CSS, WordPress, WordPress - Installation | Comments Off on CSS Text-Transform

List Of Fonts On This Blog

Blog title (header)Grecian Empire Regular (transparent PNG file, distressed a little with Photoshop)

TaglineGeorgia, Bitstream Charter, Serif

Navbar – Helvetica Neue, Arial, Helvetica, Nimbus Sans L, sans-serif

Entry TitlesBerylium Bold by Larabie Fonts (@font-face kit generated at FontSquirrel.com).  This isn’t exactly the font I wanted here, but it’s pretty close.

Post EntriesTimes New Roman, Times, serif.  Kind of a boring choice, but unlike a lot of fonts, Times New Roman contains all the glyphs for ancient Greek. And its thick stroke size makes it readable, to boot. (I’ve added a little extra space between words in the CSS.)

Greek Characters (large)Theano Didot Regular.  A beautiful font for ancient Greek, but not as readable as Times New Roman at smaller font sizes. (See my page on Greek fonts for more details.)

Blog title (footer)Caesar Dressing (embedded from Google Fonts)

Posted in WordPress, WordPress - Installation | Comments Off on List Of Fonts On This Blog

Change Output of Blog Copyright Plugin For WordPress

Some WordPress themes don’t seem to output to a copyright div, so users need a plugin to do so. Blog Copyright by Blog Traffic Exchange does the trick, but it’s not without its shortcomings.

The main problem is that Blog Copyright outputs the blog link into the copyright…which is spammy, because the blog title in the footer already contains a link to the blog.

Here’s how the footer output looks, after some CSS style changes:

The simplest fix would be not to put anything into the Blog Title text box in the dashboard settings, but then Blog Copyright would still create an anchor tag. I doubt the search engines approve of anchor tags with empty href attributes…

The other approach is to go into the PHP code, and change the plugin’s output. The line in question is near the bottom of the BTE_BC_core.php file, at line 155:

return stripslashes($bte_bc_header).'© '.stripslashes($years).' <a href="'.stripslashes($bte_bc_url).'">'.stripslashes($bte_bc_org_header.$bte_bc_org.$bte_bc_org_footer).'</a> '.stripslashes($bte_bc_rights.$link.$bte_bc_footer);

After removing the href attribute, line 155 looks like this:

return stripslashes($bte_bc_header).'© '.stripslashes($years).
stripslashes($bte_bc_rights.$link.$bte_bc_footer);

Once the file is saved & uploaded to the server, the anchor tag will no longer be part of the copyright output:


The code in Step 5 is word-wrapped. If copying & pasting, do NOT add returns to this code!

Posted in Copyright Year Code, WordPress, WordPress - Installation | Comments Off on Change Output of Blog Copyright Plugin For WordPress

The Importance Of Creating A WordPress Child Theme

After installing WordPress and activating a theme you’re happy with, it’s a good idea to set up a child theme. This allows you to customize the styles for the theme you’ve chosen – and more importantly, to keep these styles after the next theme update.

I did not know any of this before I set up the ancient Greek blog, and enthusiastically went to work updating the style sheet for the Twenty Ten theme. Then when it came time to update that theme, I lost all my changes! (There was a backup of a style sheet that had some – but not all – of the style changes that had been made.)

For a few months after that, I always kept a recent copy of my modified style sheet, so that it could be uploaded whenever a theme update was needed. And eventually I got around to setting up a child theme, and placed the modified style sheet into it.

But this really isn’t the best way to do this. In my case, the parent style sheet is about 1,400 lines long, and my child style sheet is 2,000 lines long. And much of the latter code is identical to the parent style sheet, which no doubt slows down load times.

At this stage it would take a bit of work to trim out all that redundant code. So take it from me – set up a child theme right from the start so you can keep your style changes during theme updates, and to keep your installation running as fast as possible.


UPDATE: Looks like my setup isn’t as bad as I thought. Since the child theme style sheet contains all the code from the parent, I didn’t add this line at the beginning of the child’s style sheet:

@import url("../twentyten/style.css");

Therefore, the parent style sheet doesn’t get imported at all – only the 2,000 line child theme style sheet is imported.

Posted in WordPress, WordPress - Installation | Comments Off on The Importance Of Creating A WordPress Child Theme

Changing WordPress Theme And Adding Styles

After WordPress was installed, I wanted to use the same theme and styles here as on my ancient Greek blog. Here’s how it was done…

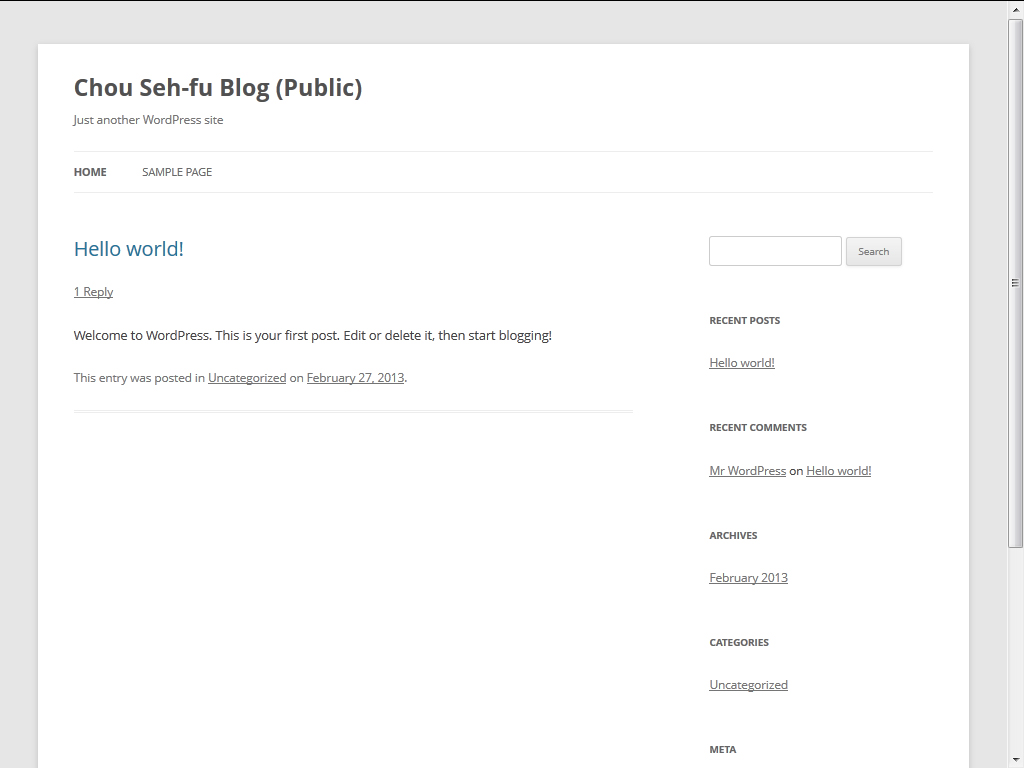
Just to recap, after WordPress was installed, the initial default theme was Twenty Twelve:

WordPress Twenty Twelve theme after installation (screenshot)

Since the Twenty Eleven and Twenty Twelve themes were not needed, they were removed from the server for security purposes. At that point, the Twenty Ten theme was uploaded and applied on the WordPress dashboard:

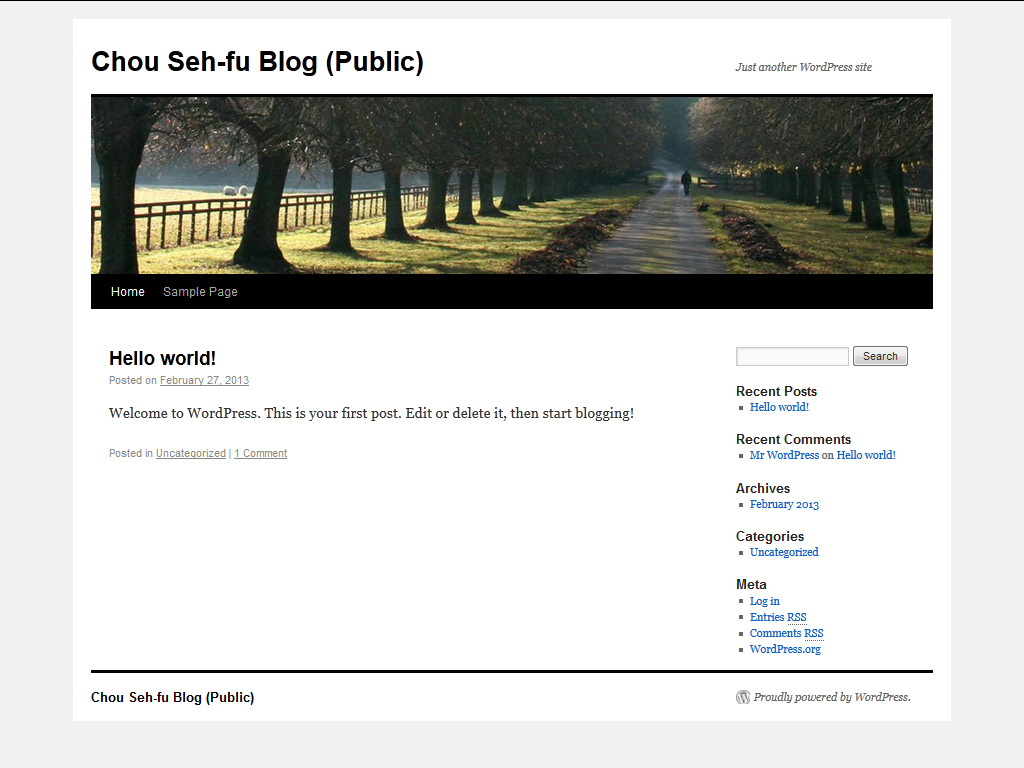
newly-installed Twenty Ten WordPress theme (screenshot)

Following this, my Twenty Ten child theme from the ancient Greek blog was uploaded and applied:

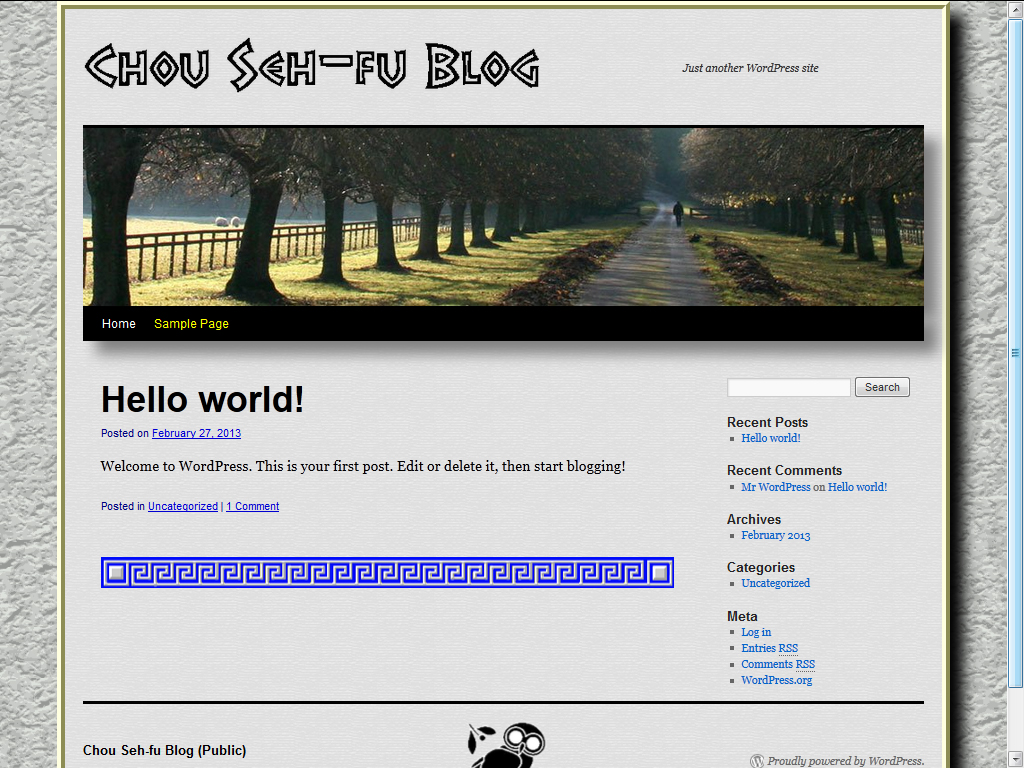
WordPress Twenty Ten child theme with significant style changes over the basic theme (screenshot)

This child theme differs from the parent theme in the following ways:

  1. Various font changes.
  2. A Photoshop-generated weathered stone background is added to the body.
  3. A Photoshop-generated gray paper background image and yellow borders is added to the wrapper. The former is a bit brighter than the gray paper background used on the rest of the site.
  4. The visible blog title is actually not text, but a background PNG image (since the makers of the Grecian Empire Regular font might not appreciate their font being embedded for the web).
  5. CSS 3 drop shadow behind the header image.
  6. A blue Greek meander background image is displayed after each post, serving as a divider between blog posts.
  7. An Athenian owl is added to the footer for decorative purposes.

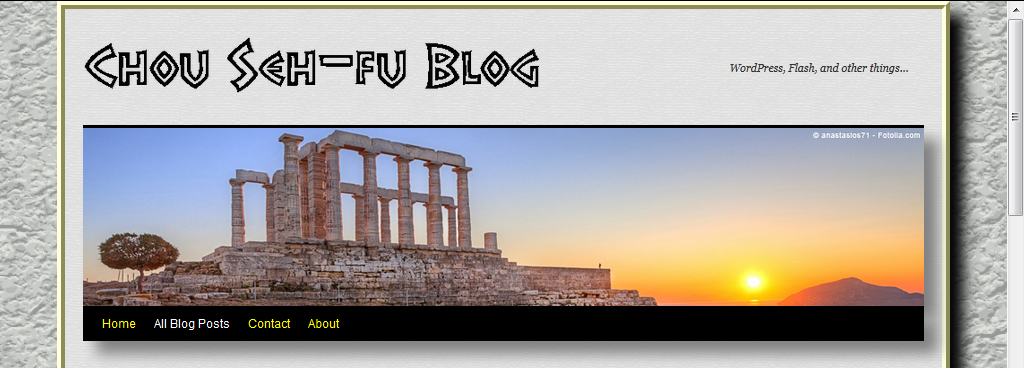
Next, the default header image was swapped out in favor of the photo, “Poseidon Temple at Cape Sounion near Athens, Greece” by anastasios71 at Fotolia.com. The blog’s tagline and its styles were also changed, with the tagline being moved to the right.

Poseidon Temple - blog header image (screenshot)

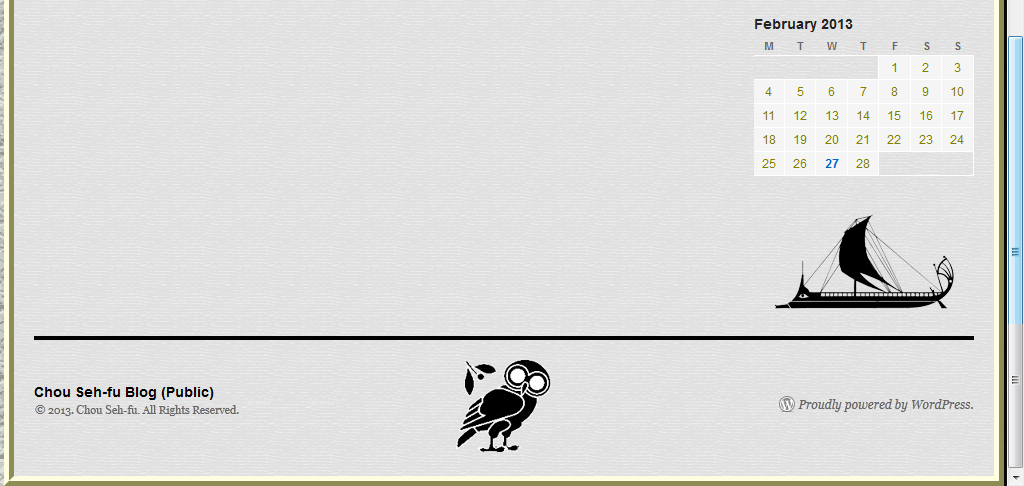
Finally, a background image was added to the widget area, and a copyright notice was added to the footer with the Blog Copyright plugin by Blog Traffic Exchange.

ancient Greek trireme, Athenian owl, and blog copyright screenshot

Posted in WordPress, WordPress - Installation | Comments Off on Changing WordPress Theme And Adding Styles

GoDaddy Automated WordPress Installation

A curious problem happened to me recently when using GoDaddy’s automated WordPress installer for this blog.

I tried to install WordPress into the default /wordpress/ folder, but the automated system wouldn’t let me. The automated system “remembered” that I had previously installed WordPress into this folder a year earlier (for my ancient Greek blog)…even though that /wordpress/ folder did not exist anymore! (Last year I moved the ancient Greek blog to the /blog/ folder.)

This would not have been a big issue, but the system then informed me that the install into the /wordpress/ folder had failed, and that I should de-install it.

Which I did.  Only to discover that the system remembered the database which was originally linked to the /wordpress/ folder…and began deleting the database tied to the ancient Greek (/blog/) installation of WordPress.

Six months of posts gone in a puff of electrons!

Fortunately I had a backup, and was able to re-create the database and restore it. (Special thanks to the GoDaddy support team – there was a bit of problem with the re-creation step.)

Moral: Be wary of the automated WordPress installation system if you’re installing more than one blog onto your site. And always make db backups.

Posted in WordPress, WordPress - Installation | Comments Off on GoDaddy Automated WordPress Installation

How To Manually Install WordPress On GoDaddy

Print Friendly, PDF & Email

There is an automatic installation process for WordPress on GoDaddy, but often it is necessary to manually install WordPress (last year, I tried using it to install WordPress on 4 different sites hosted by GoDaddy, and their automatic system failed 75% of the time).

My suggestion is that you skip the automatic WordPress installation entirely, and perform a clean manual install, starting at Step #2.

Checklist:

  1. If you’ve tried the automatic installation and it fails, you need to uninstall it. While there is an automatic uninstall, I have never –NEVER– seen it work successfully. So you’ll have to do a manual uninstall:
    1. Use Dreamweaver or Filezilla to delete the WordPress folder on your online site.
    2. Make sure that a MySQL database for WordPress wasn’t created:
      1. Click on Web Hosting on the GoDaddy page.
      2. Click on the website you tried to install WordPress, and click Launch.
      3. Click on Databases > MySQL.
      4. If the database was created, delete it by clicking the X (Delete) icon.
  2. You now need to create a WordPress database.
    1. Make sure you are logged into GoDaddy.
    2. Click on the black My Account button and choose Web Hosting.
    3. Click on the website you tried to install WordPress, and click Launch.
    4. Click on Databases > MySQL.
    5. Click Create Database button.
    6. Description: WordPress
    7. MySQL Database/User Name: {3 letters followed by 13 numbers}
      Database/User Name: ______________________________
    8. Password & Confirm Password: {your database password}
      Database Password: ______________________________
    9. MySQL Version: 5.0
    10. Allow Direct Database Access: No
    11. Write down your MySQL Database / Username and Password.
    12. Click OK.
    13. During database creation, the Status for your database will read: Pending Setup.
    14. When the process is complete, the status will say: Setup. (This step can take 30 minutes to complete.)
    15. Click on the Actions button and choose Details. Write down your Host Name.
      Host Name: ______________________________
    16. Do not close this browser window or tab!  Proceed to Step 3.
  3. In another browser tab, get the official detailed instructions for installing WordPress. (If the procedure is no longer available on this link, Google “install WordPress“).
  4. Download the latest version of WordPress from the page. This is available from the large red Download button on the top right-hand side of the page.
  5. When the download is complete, drag the downloaded WordPress folder into the offline directory containing your website. (You may rename the wordpress directory to blog, if you wish.)
  6. Double-click on wordpress (or blog) directory. Copy wp-config-sample.php file and rename the copy to wp-config.php.
  7. Edit the wp-config.php file with Database Name, Database User Name, Database Password, and Database Host.  (Remember with GoDaddy, the Database Name and the Database User Name are the same.) You may cut and paste this information into the file from the (still-open) browser tab from step 2(O).
  8. If using NotePad++ for editing, click Format and make sure the file is encoded in ANSI. Do not encode in UTF-8.  Save the file.
  9. Use Dreamweaver or Filezilla to upload the wordpress or blog directory to your online site. This takes about 20 minutes.
  10. Run the install script from a browser window (eg: http://yourSiteName.com/blog/wp-admin/install.php).  Do not put “www.” before “yourSiteName“!
  11. Set up your blog User Name and Password (these should be different from your Database User Name and Database Password). You will also need to supply your e-mail address.
    Blog User Name: ______________________________
    Blog Password: ______________________________

At present, the default theme is Twenty Twelve, which results in the first page of your blog looking something like this:

screenshot of WordPress Twenty Twelve theme after installation

Posted in WordPress, WordPress - Installation | 2 Comments